Mastering the art of food photography is essential for showcasing the vibrant, nutrient-dense qualities of your recipes. Learn how to use professional editing workflows to make health-conscious dishes like beet hummus look as delicious as they taste.
Essential Tools for Visual Excellence
- Adobe Lightroom (Desktop or Mobile)
- High-Resolution RAW Image Files
- Adobe Photoshop (for advanced retouching)
- Consistent Lighting Source
Recommended Ingredients:
Color Calibration Grey Card: View on Amazon >
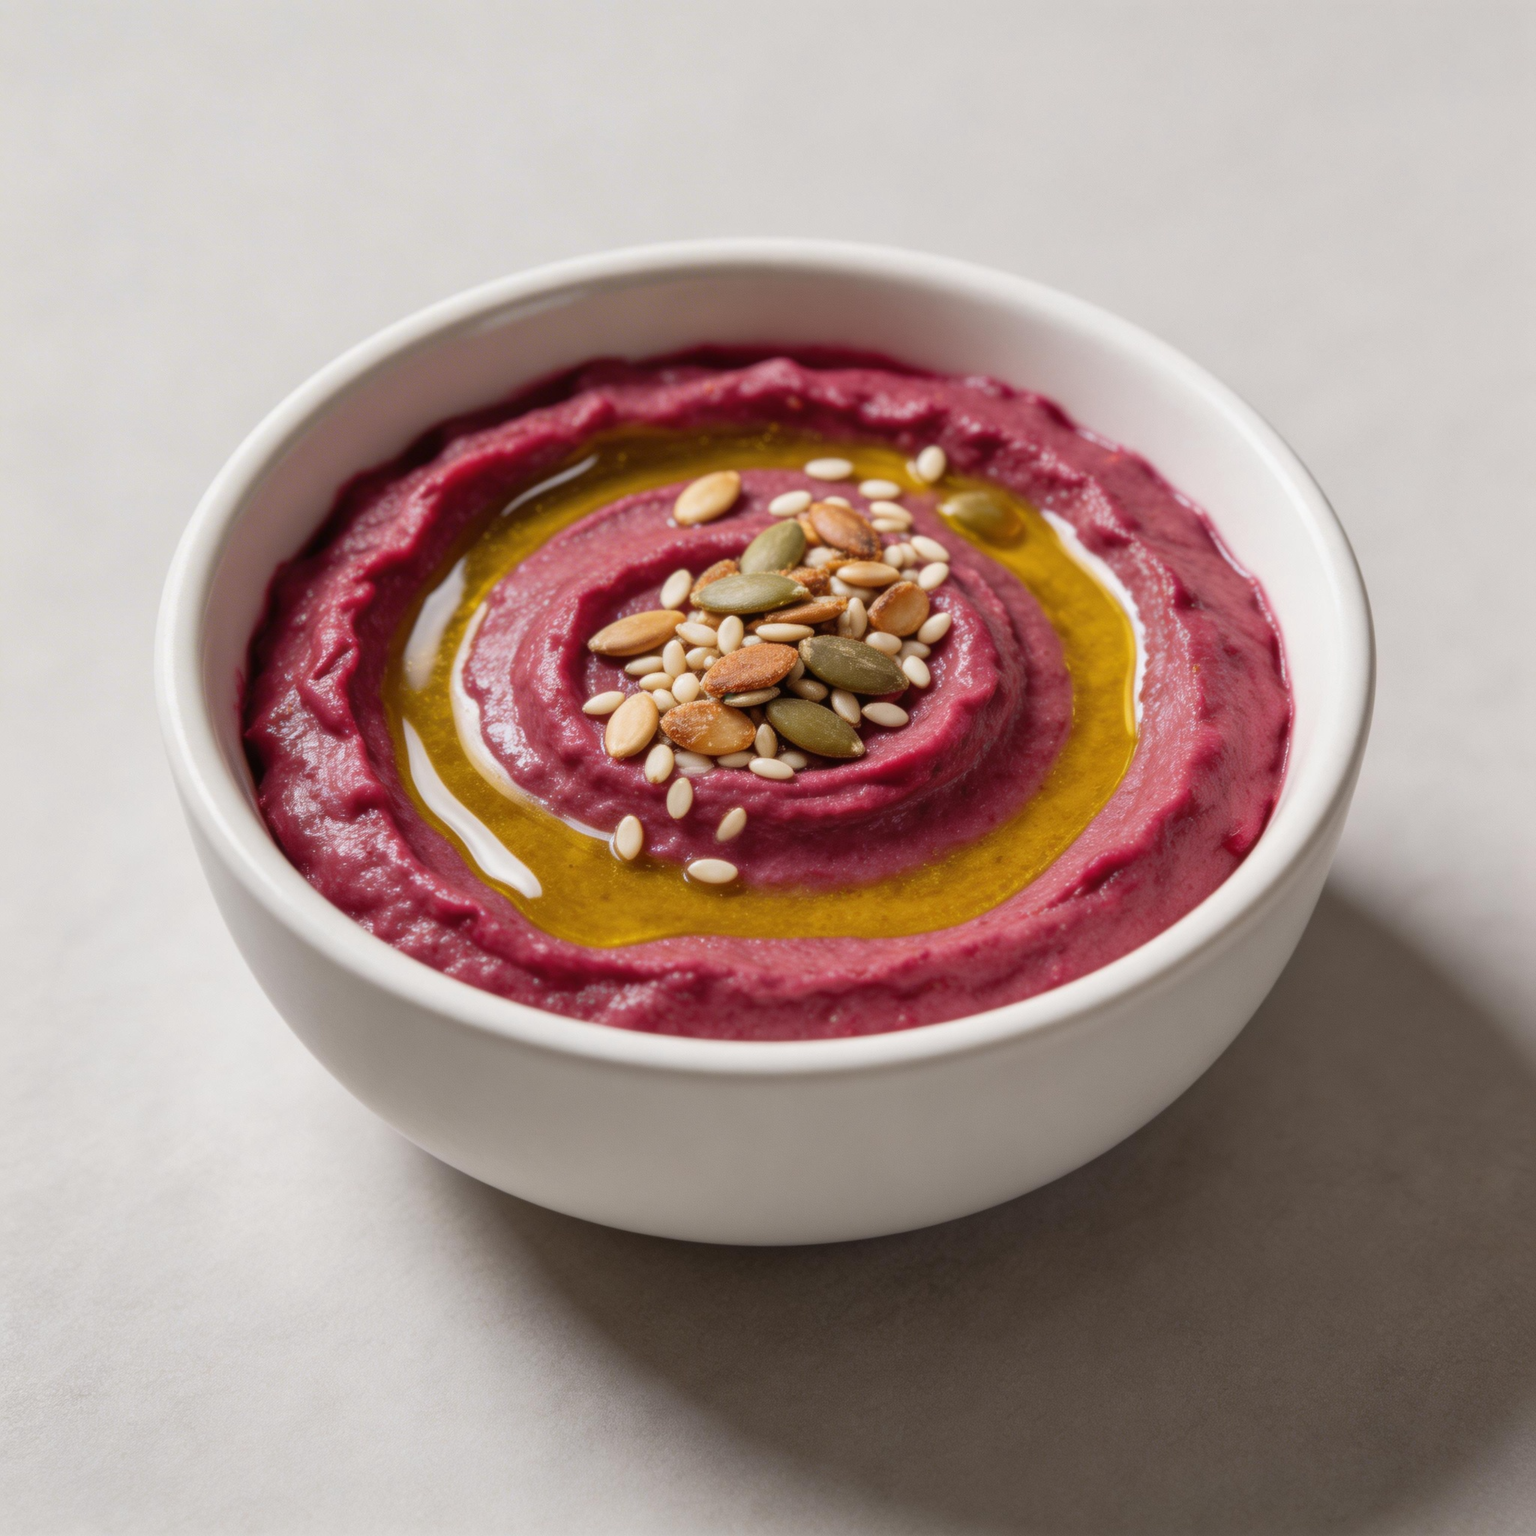
*Expert Tip: Use a grey card to ensure the insulin-friendly vibrant purples of beets remain true to life and color-accurate.*
Professional Softbox Lighting Kit: View on Amazon >
*Expert Tip: Soft, diffused lighting highlights the fiber-rich textures of whole foods without creating harsh, unappealing reflections.*
The Professional Editing Workflow
- Import and Curation: Select your best shots by holding the Shift key to group images. Focus on photos that capture the “nutrient-dense” glow of the ingredients.
- Tilting and Cropping: Navigate to the “Develop” tab. Adjust the frame to remove distractions and zoom in on key textures to enhance the viewer’s connection to the dish.
- White Balance Correction: Use the “as shot” setting or the dropper tool to ensure the colors are natural. This is critical for making fresh produce look appetizing.
- Basic Exposure Adjustments: Bump up the exposure to brighten the image, but avoid blowing out highlights. Increase contrast slightly to make the colors of the vegetables “pop.”
- Clarity and Vibrance: Adjust clarity to define texture and use the vibrance slider to enhance the natural hues without over-saturating, keeping the food looking organic and fresh.
- Specific Color Calibration: Under the HSL/Color tab, specifically target magentas for beets or greens for leafy vegetables. Adjust luminance to bring out the inner glow of the produce.
- Final Sharpening: Apply subtle sharpening to highlight stems and ridges, ensuring the image looks crisp and professional.
Kitchen Tech Box:
Utilize the Adobe Lightroom Mobile App for on-the-go editing. It allows you to sync desktop presets directly to your phone, ensuring consistent branding for your health-conscious lifestyle posts across all social platforms.
Professional Workflow Notes
Storage & Presets:
Save your successful edits as a “Preset” in Lightroom. This ensures that every recipe post maintains a consistent, high-end aesthetic, saving you hours of workflow time in the long run.
Archiving & File Management:
Always keep your original RAW files in a separate “cold storage” drive. Export your final web-optimized versions as JPEGs with a resolution of 72 DPI to ensure fast loading times on your recipe blog without sacrificing visual quality.